|
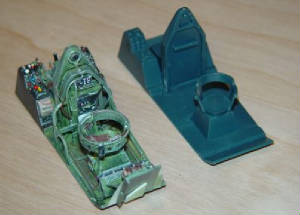
Above: The engine compartment from the stock model. Not much detail - my finished version is below.
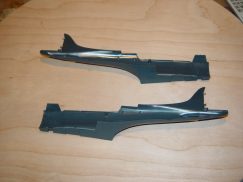
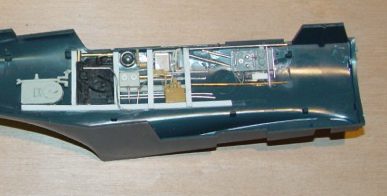
Above and above right: The original fuselage interior had nothing to offer. To the right is what I did with
half of it. Using spare parts, thin metal rods, sheet plastic and junk parts, much can be done!
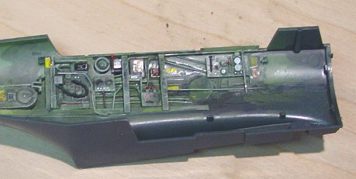
Right: The same fuselage side after painting. When super detailing, be very careful to not interfere with
the fitting of the original model parts.
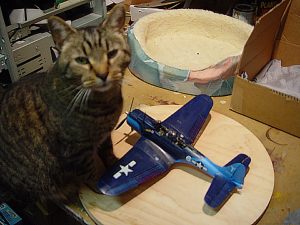
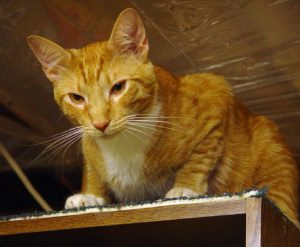
Above: One of my other cats, Harry Truman (Harry), inspects the freshly painted SBD. My cats love to watch
me work, and will sleep in the cat bed and open box to the rear of the picture while I build and paint. The only thing they
can't handle is the noise of the air compressor and the smell of dull coat. Harry has since gone to kitty heaven and we all
miss him terribly.We will always love you my Harry.
PREVIOUS PAGE
NEXT PAGE
|
 |
|
|
|
|
|
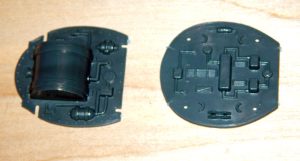
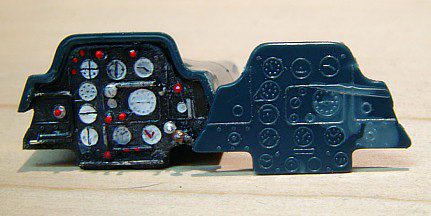
Above: The instrument panel, in before/after format. The final panel has raised toggle switches, made from
thin wiring with a dab of glue as the knob - the glue is painted when dry. The dials have indicator needles, and the panel
looks a bit better than the original.
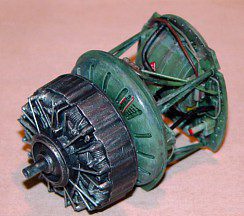
Left: The completed engine and rear engine compartment. The engine has been detailed with metal jewelry posts
and mini wiring. I painted it gunmetal and dry brushed it with aluminum.
|
|
|
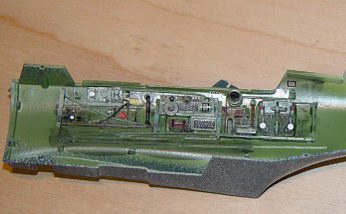
Left: The completed right side of the fuselage interior.
Left: The original boring crew compartment from the stock model on the right, and the slightly more exciting
finished product on the left.
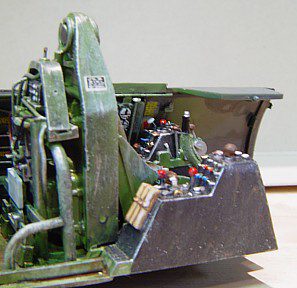
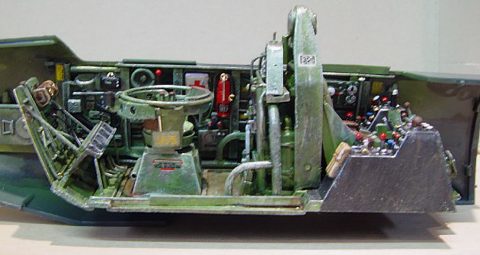
Above: A closeup of the crew compartment. The fuselage wall has a first aid kit and fire extinguisher. The
gunner's seat is completely transformed, with leather padding and a real metal ring for the guns. Knobs and toggle switches
have been added to the pilot's panels, as well as pedals and trim wheels. The gunner has footrests, ammo boxes and both men
have canvas seatbelts.
Left: A close up of the pilot's compartment. Directly behind his seat is the radio, complete with transmitter/receiver,
toggle switches and more.
Above: Audie Murphy (Audie), the culprit that spilled the glue that destroyed my first SBD as described on
my home page. Audie passed in 2016. We miss him.
|
|